Topic: how to screenshot on PC – Since the day I started using PCs, I never knew it captures screenshots too. Oh! How would I know when I don’t have a guide?
As time flies, my cumulative knowledge about computer functions encouraged me to scribble a new ‘How to’ guideline.
Stick around!
Screen Capture Using Shortcut Key Commands
Let’s see how to screenshot on PC.
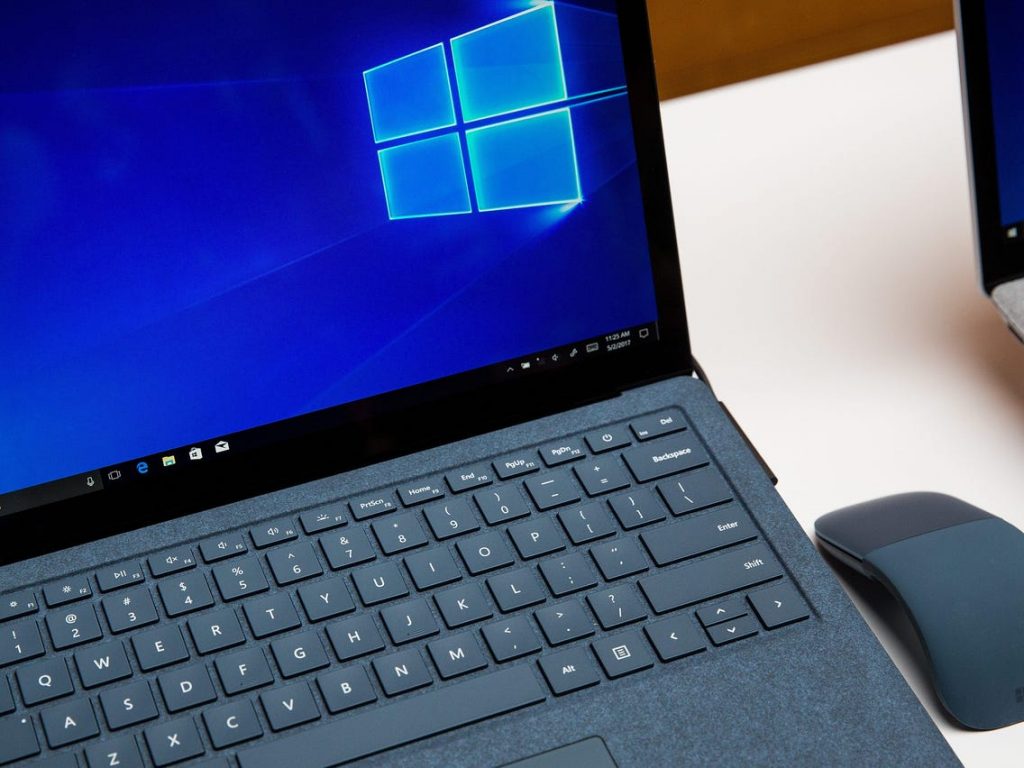
Capturing a screen on your personal computer is as easy as ABC. It is a matter of a few clicks.
Shortcut key command can capture PC’s screenshots. Simply press different keys to generate an output in your desired way.
● PrtSc Key
The position of PrtSc (Print Screen) is on the top right corner of the keyword. It captures the entire screen and saves it to the clipboard.
Follow the three simple steps to take a screenshot;
- Step 01: Press the ‘PrtSc key’
- Second Step: Open the program (such as Microsoft Word or Paint), where you can save the screenshot permanently.
- Step 03: Press Ctrl+V or press the right mouse button and select ‘Paste’ to insert the captured screen in the program.

P.S. To edit the image, use an ‘image editor’ such as MS paint.
● Alt+PrtSc Key
The Alt+PrtSc key takes snaps of the active window. It grabs the operating screen and saves it to the clipboard.
Follow the steps to take a screenshot of the window you’re working in;
- Step 01: Press the Alt+PrtSc key
- Second Step: Open the Microsoft Word or Paint program to insert the captured image.
- Step 03: Press Ctrl+V or the right mouse button and select ‘Paste’ to copy the image in the program.
P.S. To edit the image, use an image editing tool such as MS Paint.
● Win+PrtSc Key
The Win+PrtSc (Windows + Print Screen) key grabs the entire screen and saves it automatically.
To autosave the screenshot, follow the steps;
- Step 01: Simply click the ‘Win+PrtSc’ key. The screen will twilight, which demonstrates the saving and capturing of screen.
- Second Step : Go to ‘My Computer’
- Third Step : Click on the ‘Pictures’ folder.
- Step 04: The ‘Pictures’ folder contains the ‘Screenshot’ folder, where the snaps are automatically in the storage.
P.S. The image can be edit from the pictures > screenshots folder.
Screen Capture Using Screenshot Tool
Additionally, If you’re looking for the easiest way to take snaps that are personalize, elucidate, and feature a snap sharing option, you must give a try to the screenshot tool.
The updated Windows 10 features a new screenshot tool entitled ‘Snip and Sketch Tool’. In the end, The amazing tool is use by following these following steps.
- Step 01:Activate the tool by a shortcut key command Win+Shift+S.
- Step 02: After the screen eclipse, a small action box will show up, representing the types of screenshots. Click on your desired option.
- Step 03: The screen will be captured and saved to the clipboard
- Step 04: On the bottom-right corner, a preview notification will pop up. Click on it to open the Snip and Sketch Tool. You can view, edit, save, and share the snap using the tool.
P.S. Hence, the Snip and Sketch Tool offer four modes of screenshots i.e., rectangular, free-form, window, and full screen. Taking screenshots on PC is a cinch. Anyone can capture any moment/screen, edit it, and share it far and wide.
Anyway if you didn’t know how to screenshot on PC, now you shouldn’t have doubts anymore and I would be very glad to have been of help 🙂